
Shortlisting and screening people from your panel
Use this when you want to screen people from your own panel before inviting them to a study.
Every study has three tabs for this, in order: Shortlist, Candidates, Participants. The order is the process.
| Tab | Who is in it | What you do here |
|---|---|---|
| Shortlist | People you might want | Build the list from your panel, then send them a screener |
| Candidates | People who have answered | Review their answers and decide |
| Participants | People who qualified | Run the study |
Before you start
You need a study with a screener on it. If you haven’t built one yet, see Recruiting into a study with screeners.
The Shortlist tab appears on every study once your organisation has a panel.
1. Build the shortlist
Open the study and go to the Shortlist tab. Click Add from panel and choose which panel to add from.
You get the same filters you use everywhere else. Narrow the panel down to the people you’re interested in, select them, and add them. You can add everyone matching a filter in one go.
Nobody is contacted at this point. The shortlist is just a list of people you’re considering. If you change your mind, select them and click Remove from shortlist. They won’t know they were ever on it.
2. Send the screener
Select the people you want to hear from and click Send message.
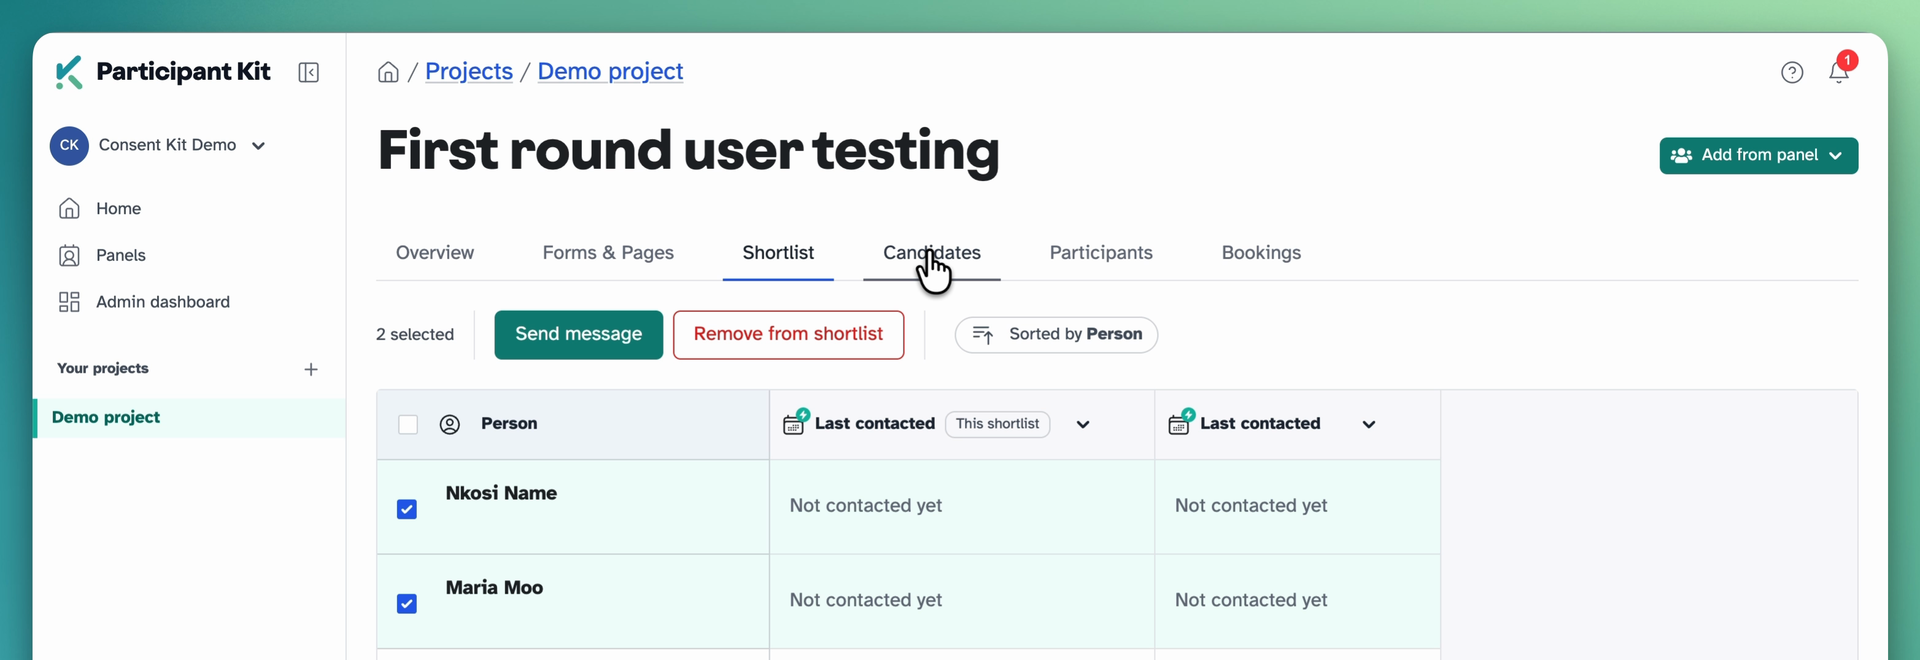
The composer opens. Write your message, then add the screener using the forms tool in the composer. Each person gets their own personal link, so their answers are tied to their record.
Two groups are skipped automatically:
- anyone on your do not contact list
- anyone deactivated because their email address bounces
The Last contacted column shows when each person was last messaged from this shortlist. Switch it to show their last contact from anywhere, so you don’t chase someone you emailed last week.
3. Review candidates
As people fill in the screener they move to the Candidates tab. Each screener question appears as a column, so you can read everyone’s answers at a glance.
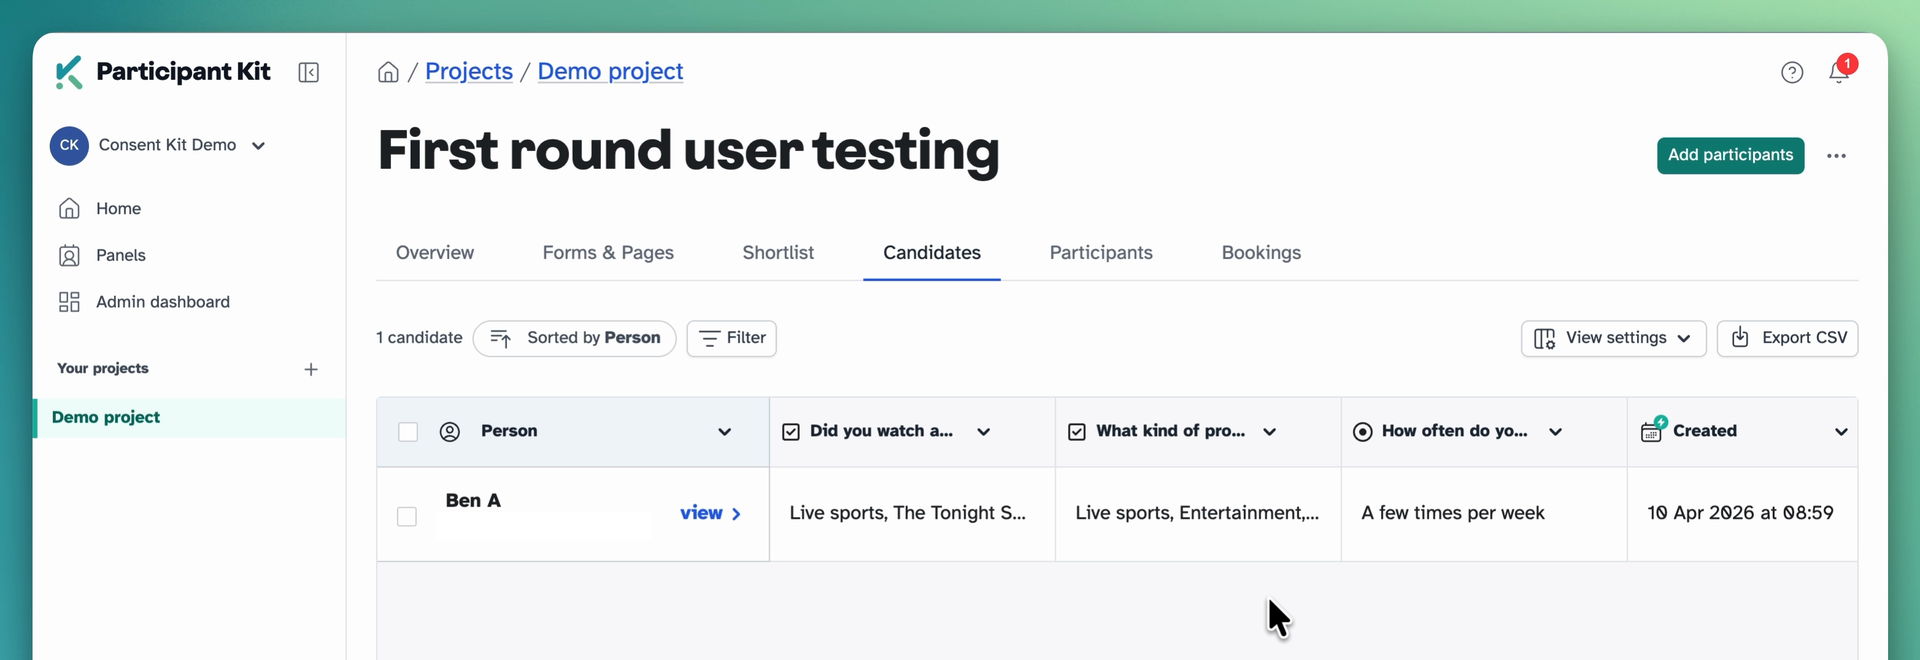
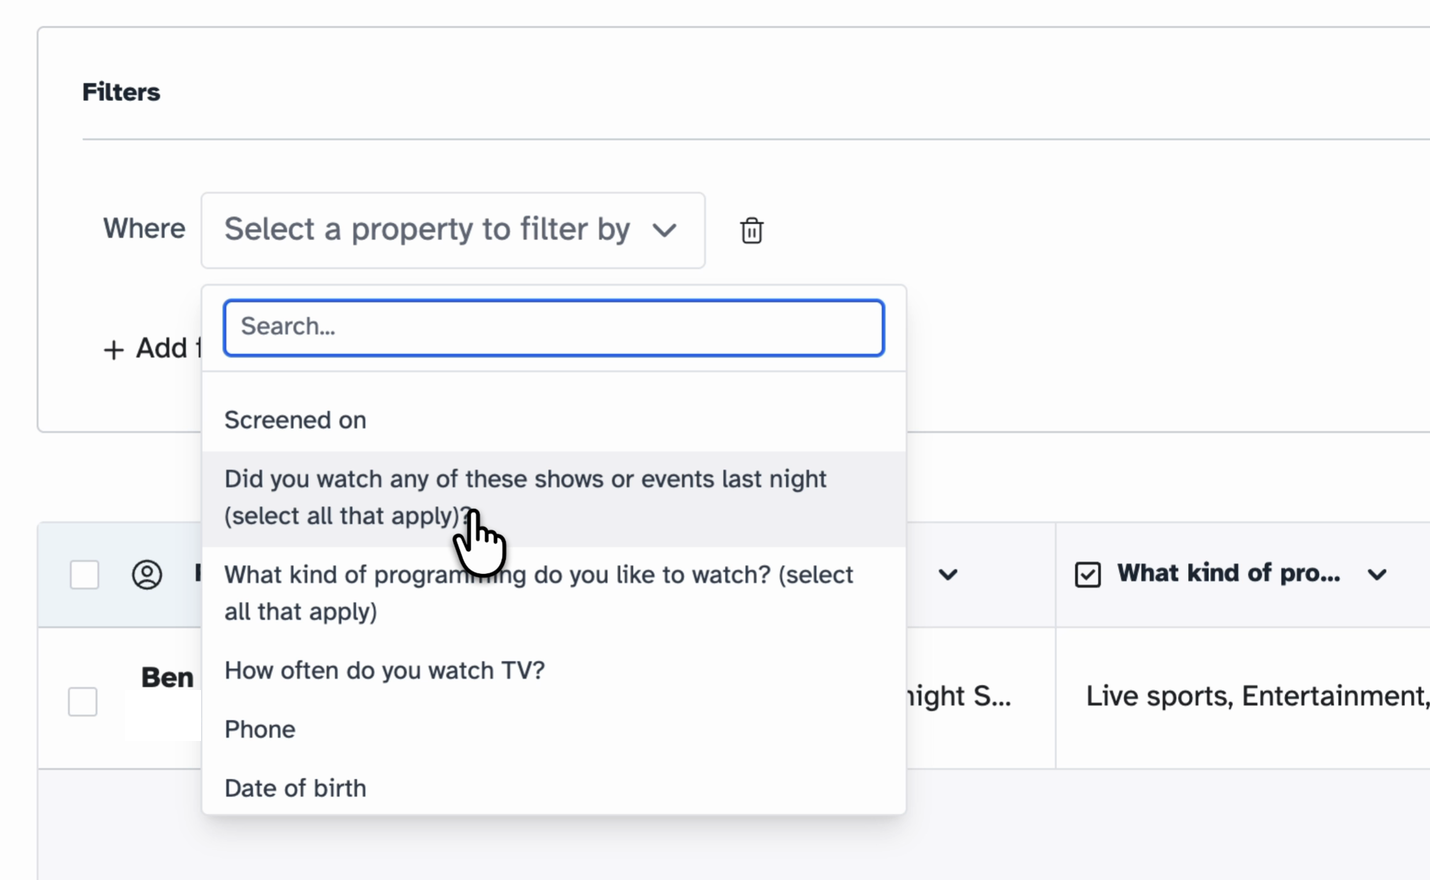
To narrow the list, click Filter and pick a screener question as the property. Choose the answer you’re looking for and only the people who gave it remain. You can combine conditions, and filter by when someone was screened.
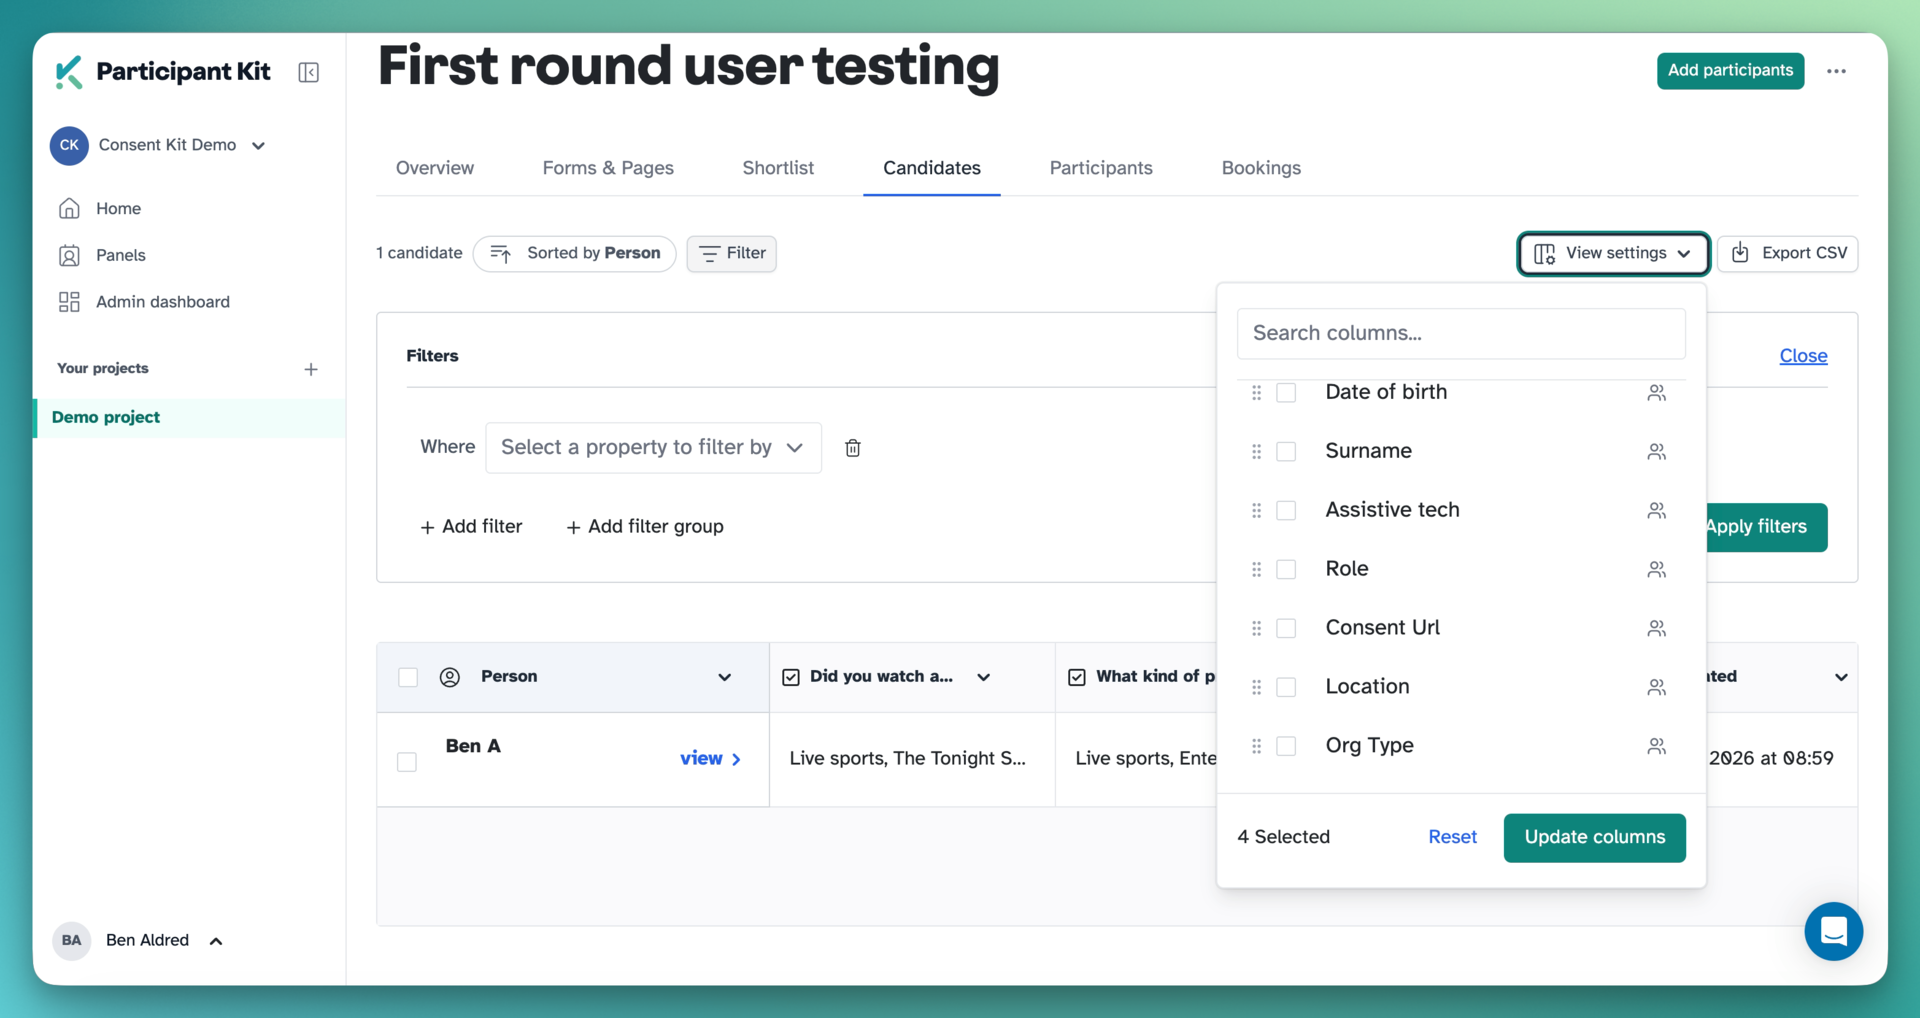
If a candidate came from a panel, click View settings to switch on any of that panel’s fields as columns. This is off by default, and your choice is remembered for next time.
Export CSV downloads the candidates you can see, with any filter applied. People still on the shortlist who haven’t answered aren’t included.
4. Qualify people
Once you’ve decided someone qualifies, select them and click Move to.
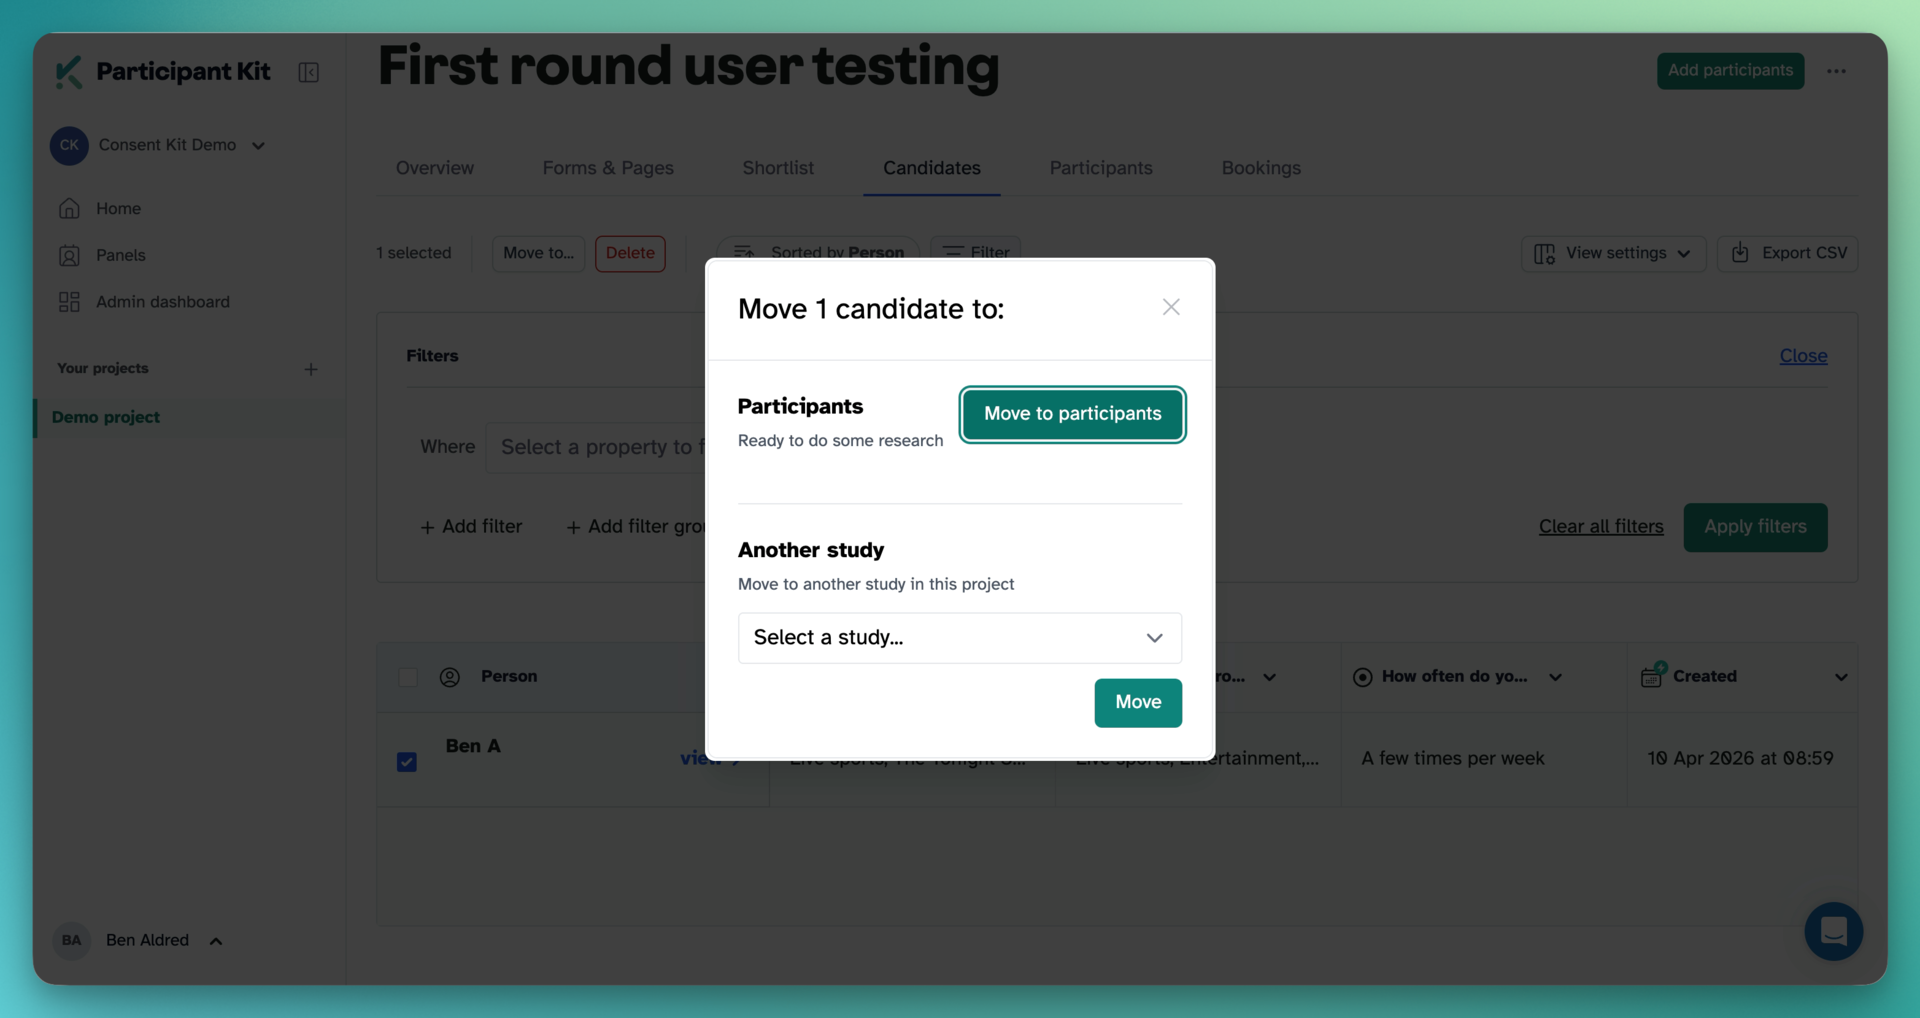
- Move to participants puts them in the study, ready to do research.
- Another study moves them to a different study in the same project. Use this when you’ve hit your quota or want to keep someone for another round. They arrive as candidates in the other study with their answers intact.
Check it’s working
Once the screener is out, use the counts to see whether people are moving through. The project page shows how many people are at each stage of every study, so you can spot one where lots are shortlisted and few have answered.
Open the study’s Overview for the detail: how many candidates are still waiting on a decision, and how many completed each screener.
Key takeaways
💡 Remember: Don’t add panellists straight into Participants if you still need to screen them. Their answers are saved to their profile but they never appear in Candidates, so there’s no one place to review everyone.
🧪 Try: Switch on panel fields as columns in the Candidates tab, so you can see someone’s screener answers and their panel profile side by side.
⚠️ Watch for: Anyone on your do not contact list or who has a bouncing email address is skipped when you send from a shortlist. You don’t need to remove them by hand.
⚡ Quick tip: Too many good candidates for one study? Move the extras to another study in the same project and they’ll wait there, answers intact.